 Help Center
Customize your event
The default theme and templates in IO are designed to be beautiful, intuitive, and flexible. You can tweak them via the UI, or fully customize them with your own HTML templates.
This quick start guide focuses on basic customizations to get you up and running quickly.
Change the look and feel
Click Customize in the left-hand menu on desktop to see an overview of all the templates (i.e. screens and emails) in the RSVP flow.
Click into any template and then on Theme settings to open a modal where you can add a banner and change the colors. Your changes will apply automatically to all templates, so you don't need to repeat this step.
Very quickly, you can go from the default:

To something custom like this:
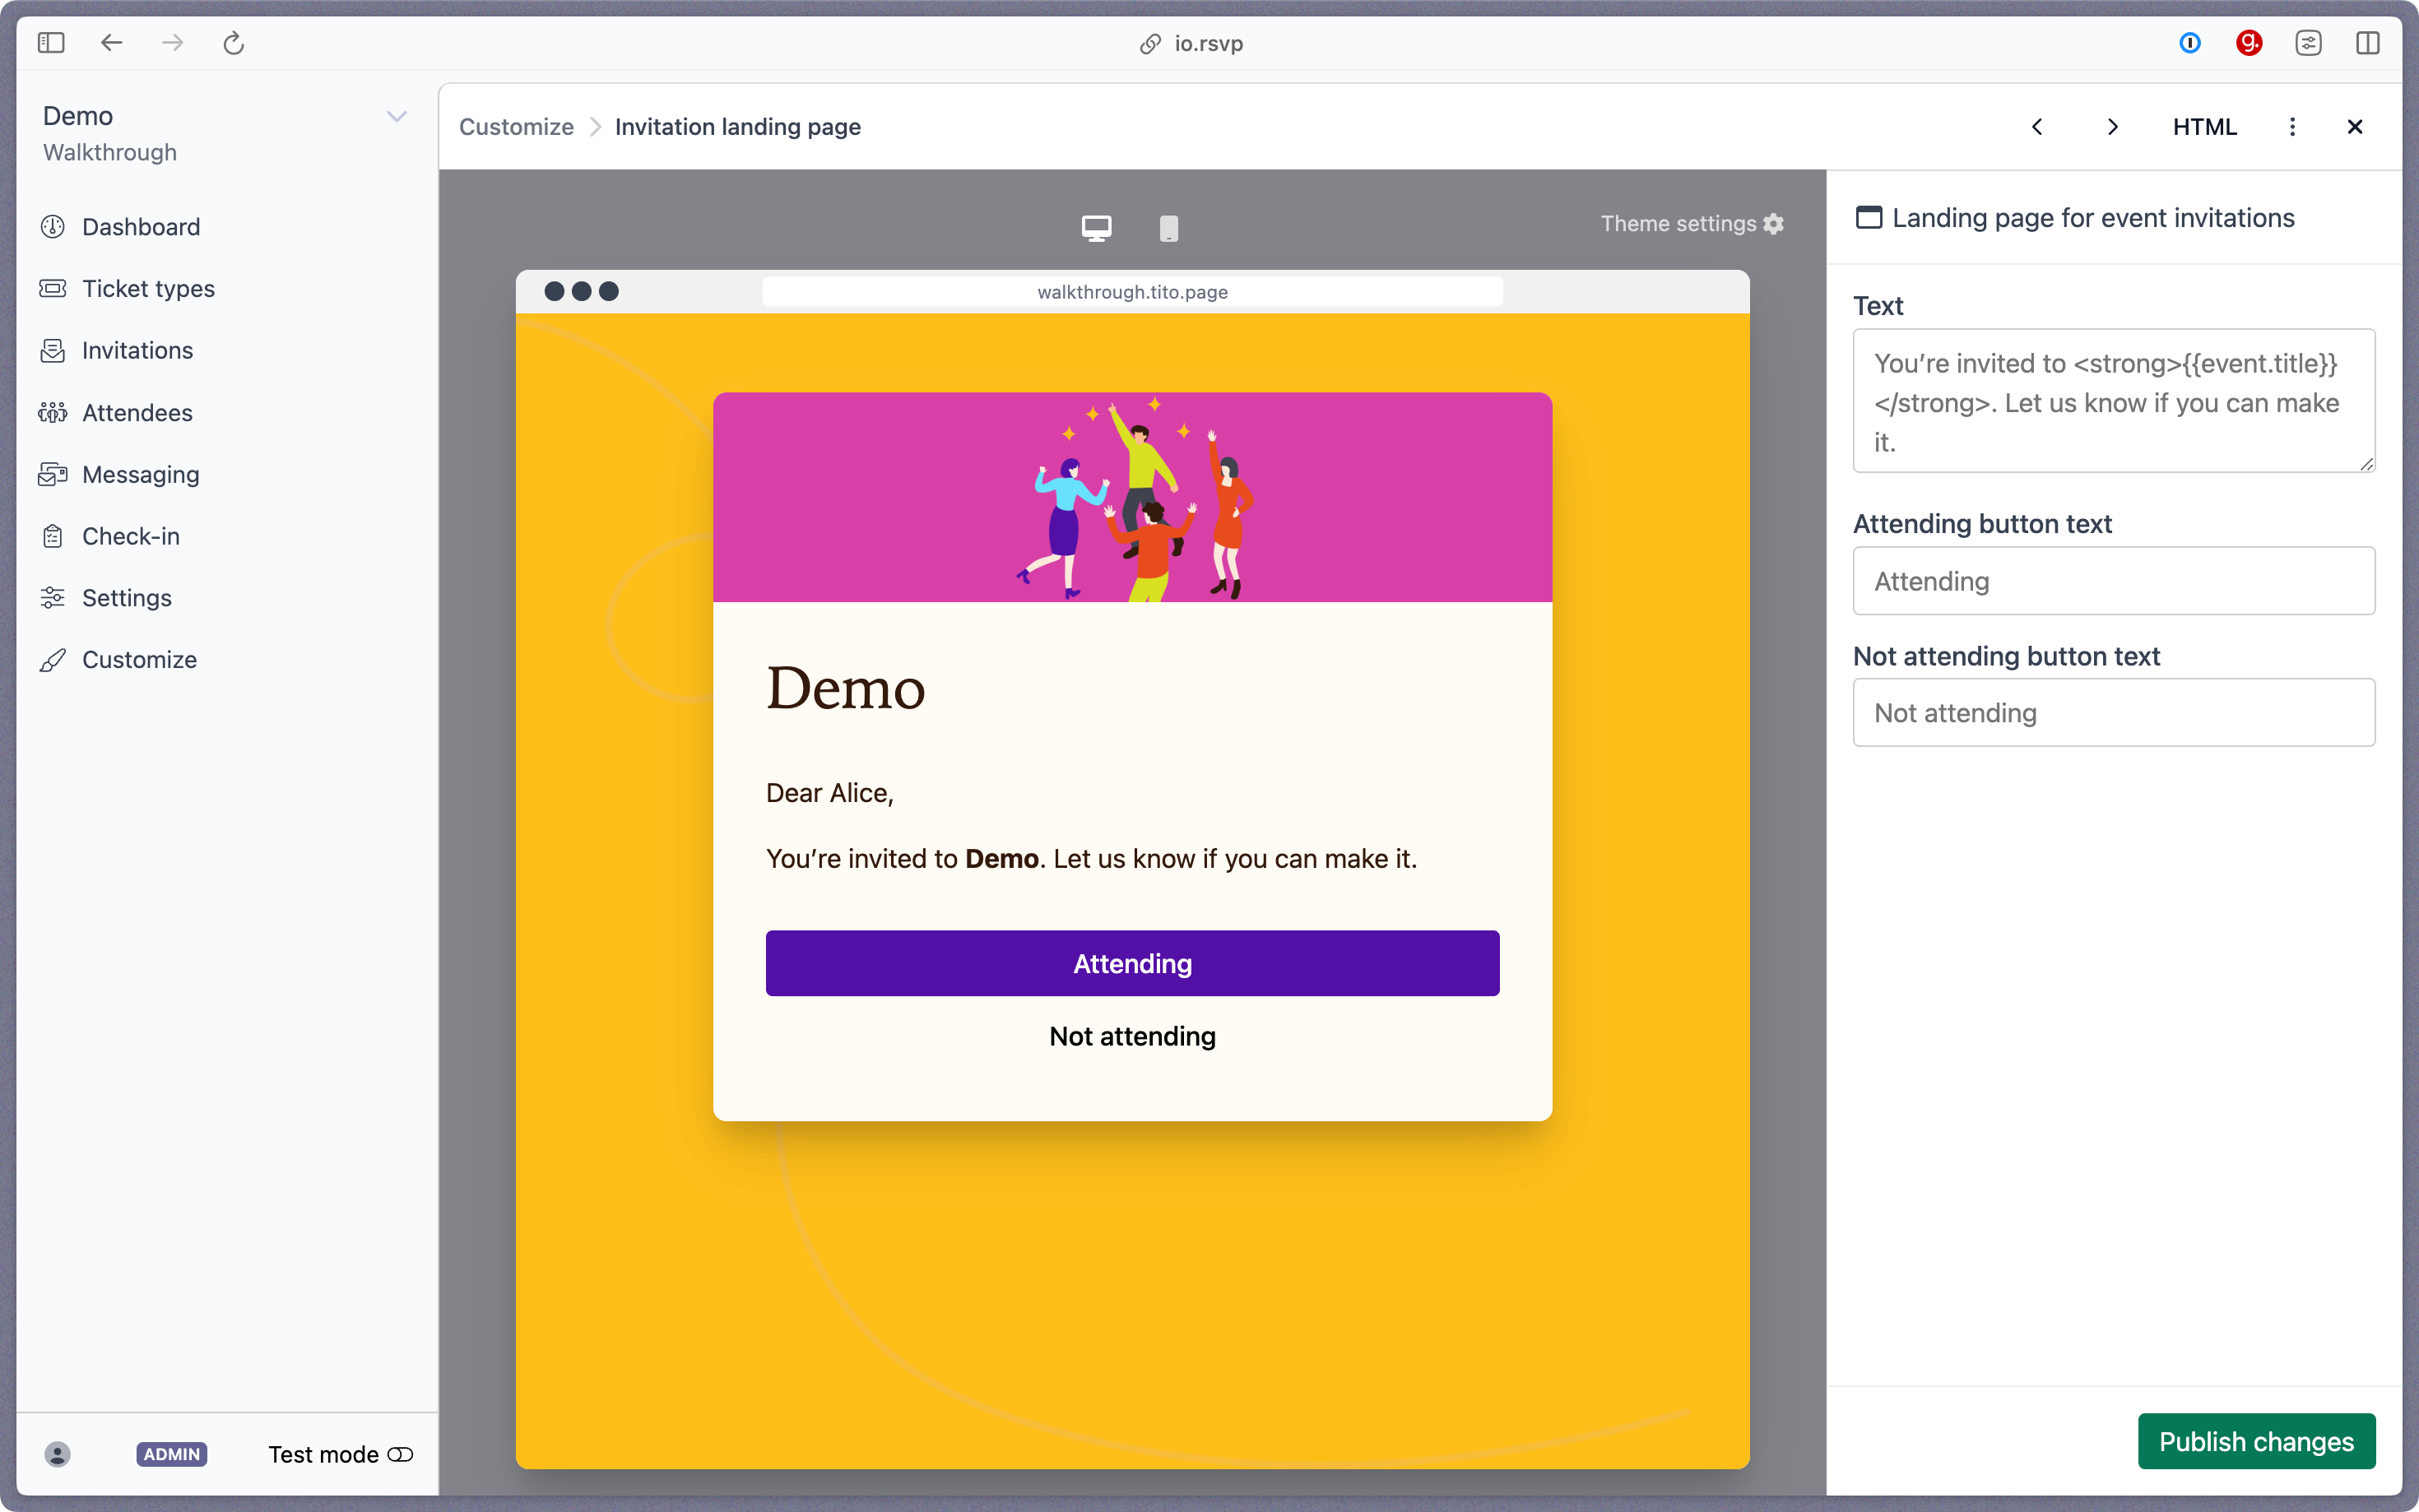
Edit the wording
Template wording is neutral and minimal by default, but you can tweak each template individually to suit your event.
Edit the main body and button text directly within their respective UI fields. Here's the above screen again, but with custom text this time:
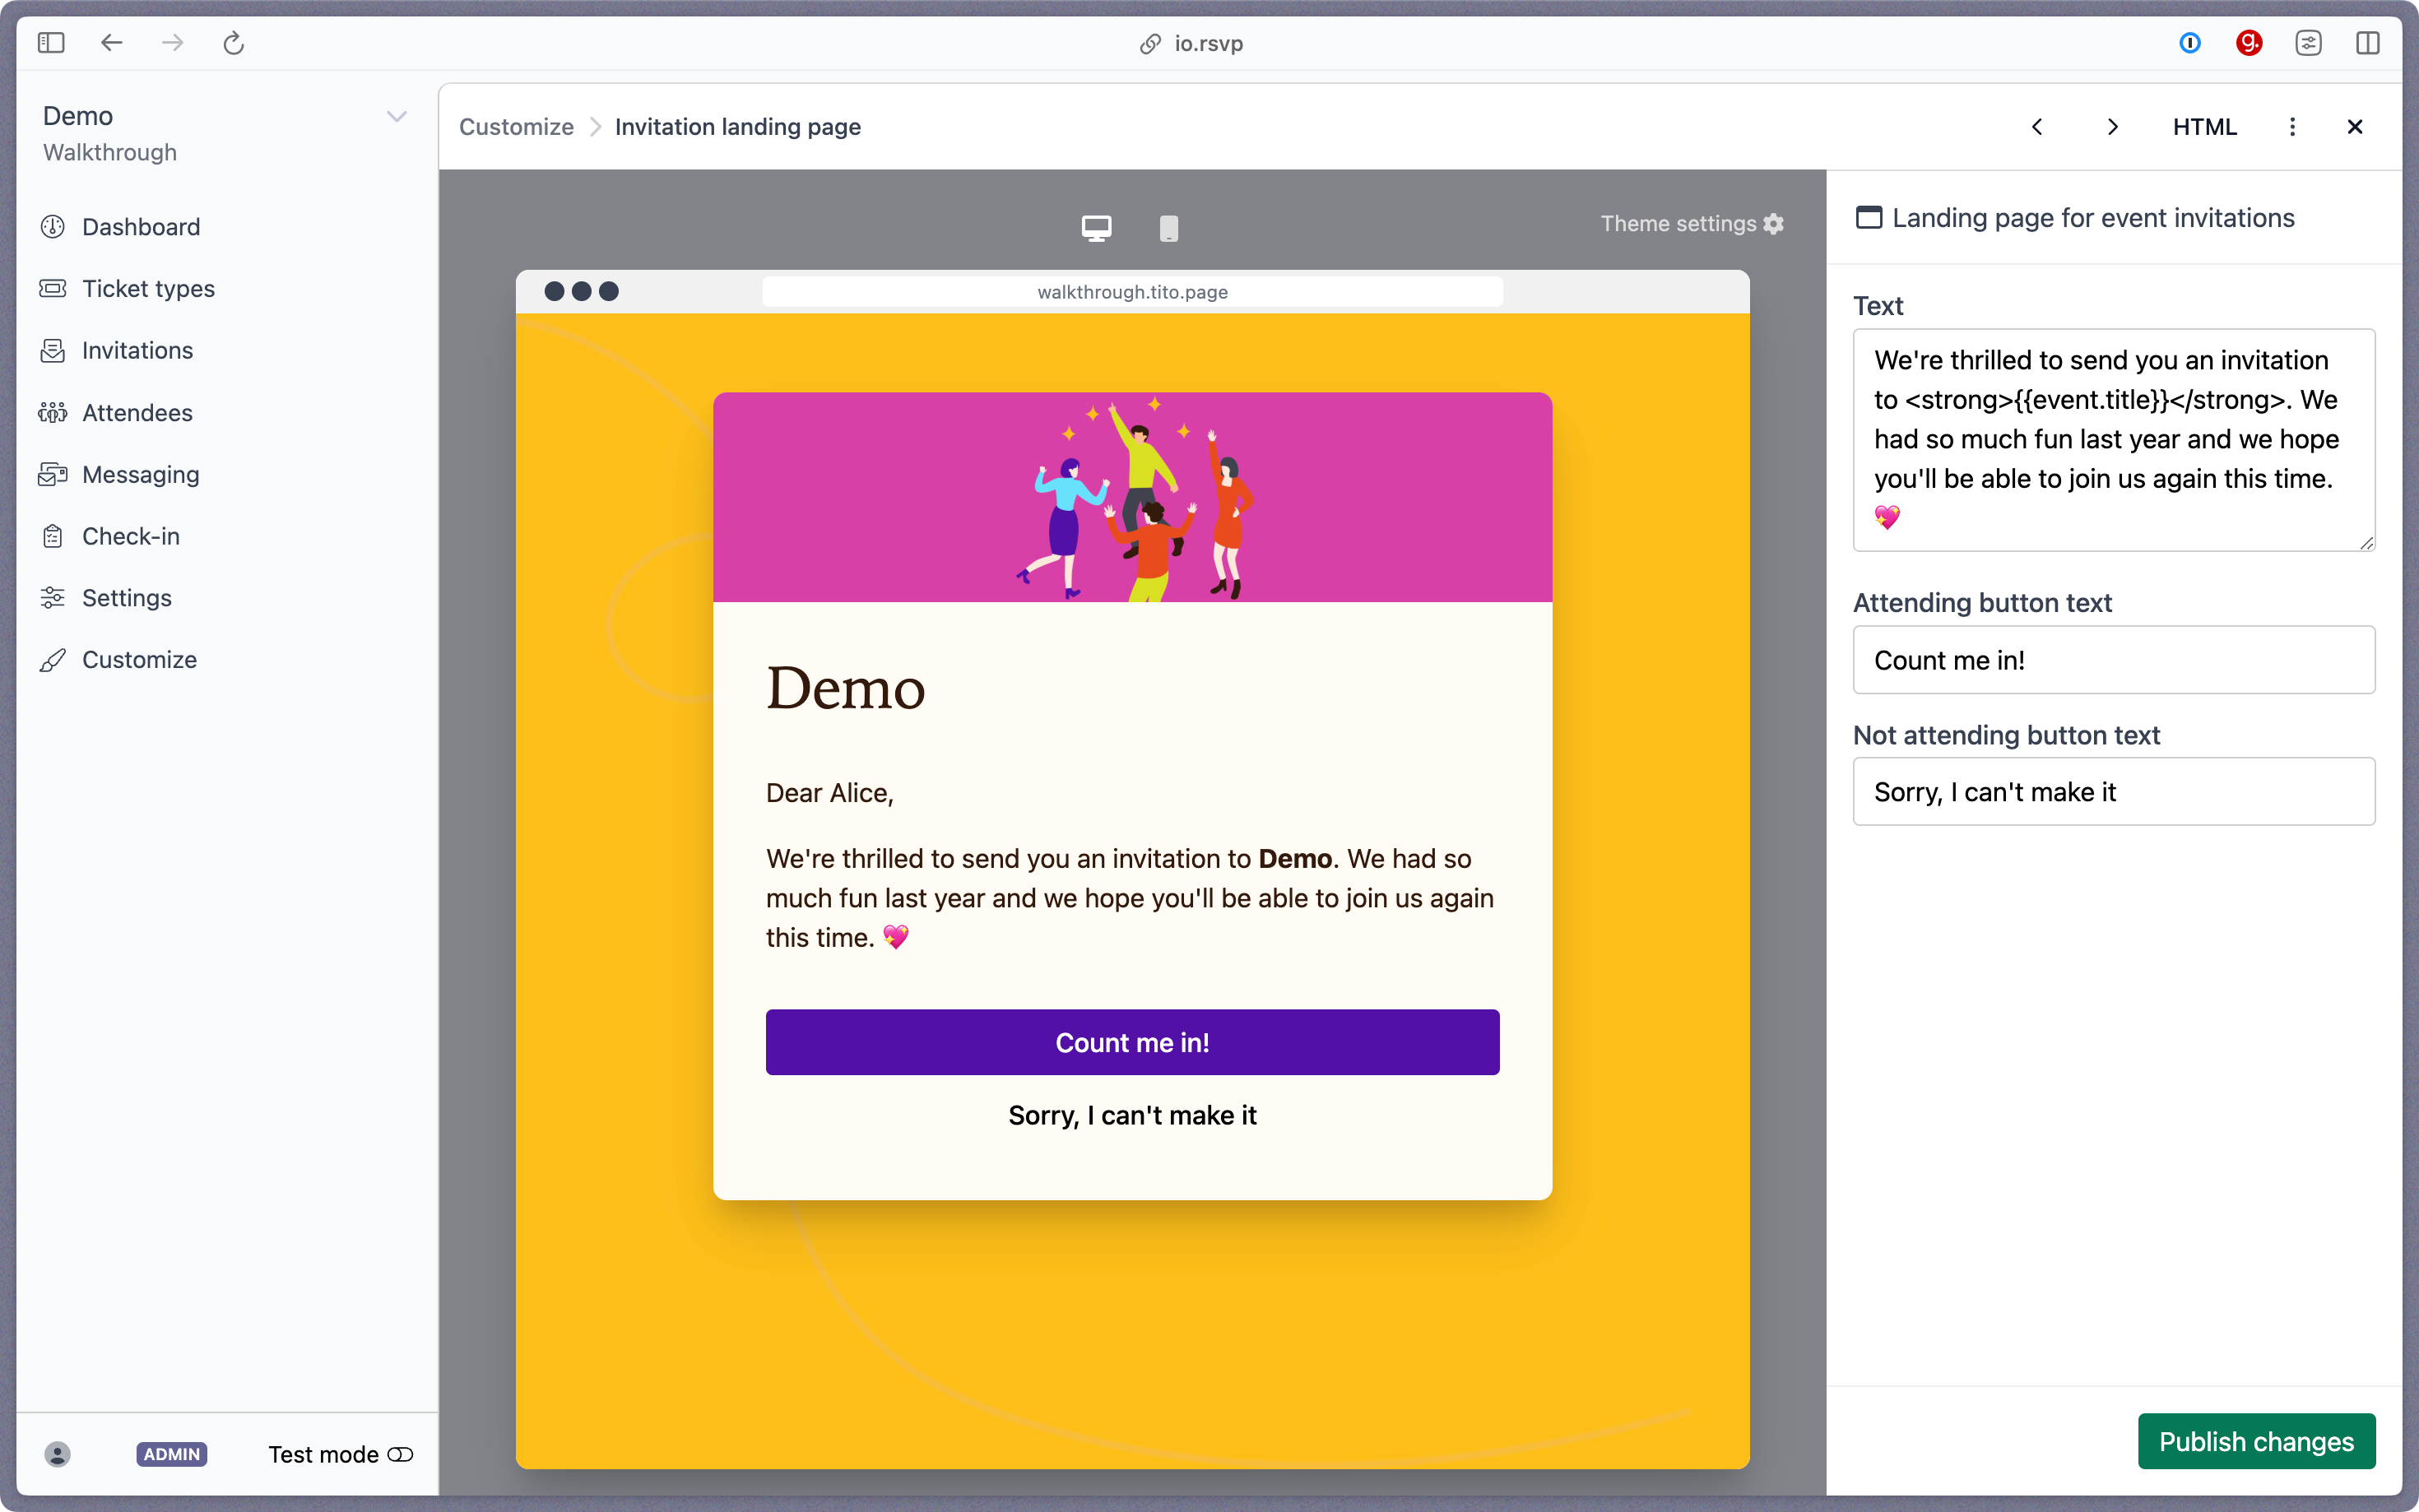
You can also use HTML formatting, like <strong>, directly in the UI fields as we've done above. Or switch to HTML view if you want to add, move or delete things entirely, and to see a list of supported Liquid variables, like {{event.title}}.
You can also customize the Digital Wallet passes at this stage, or do it later.
Suggested next step: Send a test invitation ⟶
